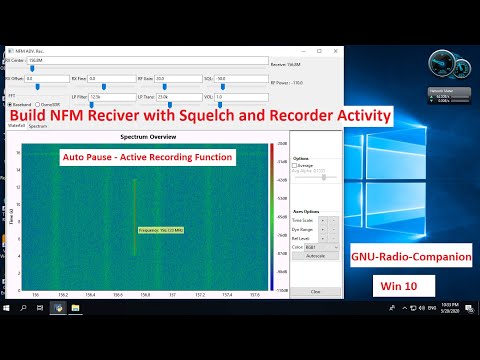
Thank you to YouTuber M Khanfar for submitting news about his various Windows GNU Radio tutorials that he has been uploading to YouTube. So far he's uploaded tutorials on creating an FM Receiver, Air Band Receiver, AM/NFM Receiver, NFM Receiver with Squelch and Recorder and Spectrum Analyzer with GNU Radio on Windows 10. The tutorials are straight to the point and designed to be followed along with the video. The full list of videos can be found on his YouTube channel, and we have embedded one below.
Build NFM Reciver with Squelch and Recorder Activity GNU RADIO Win10
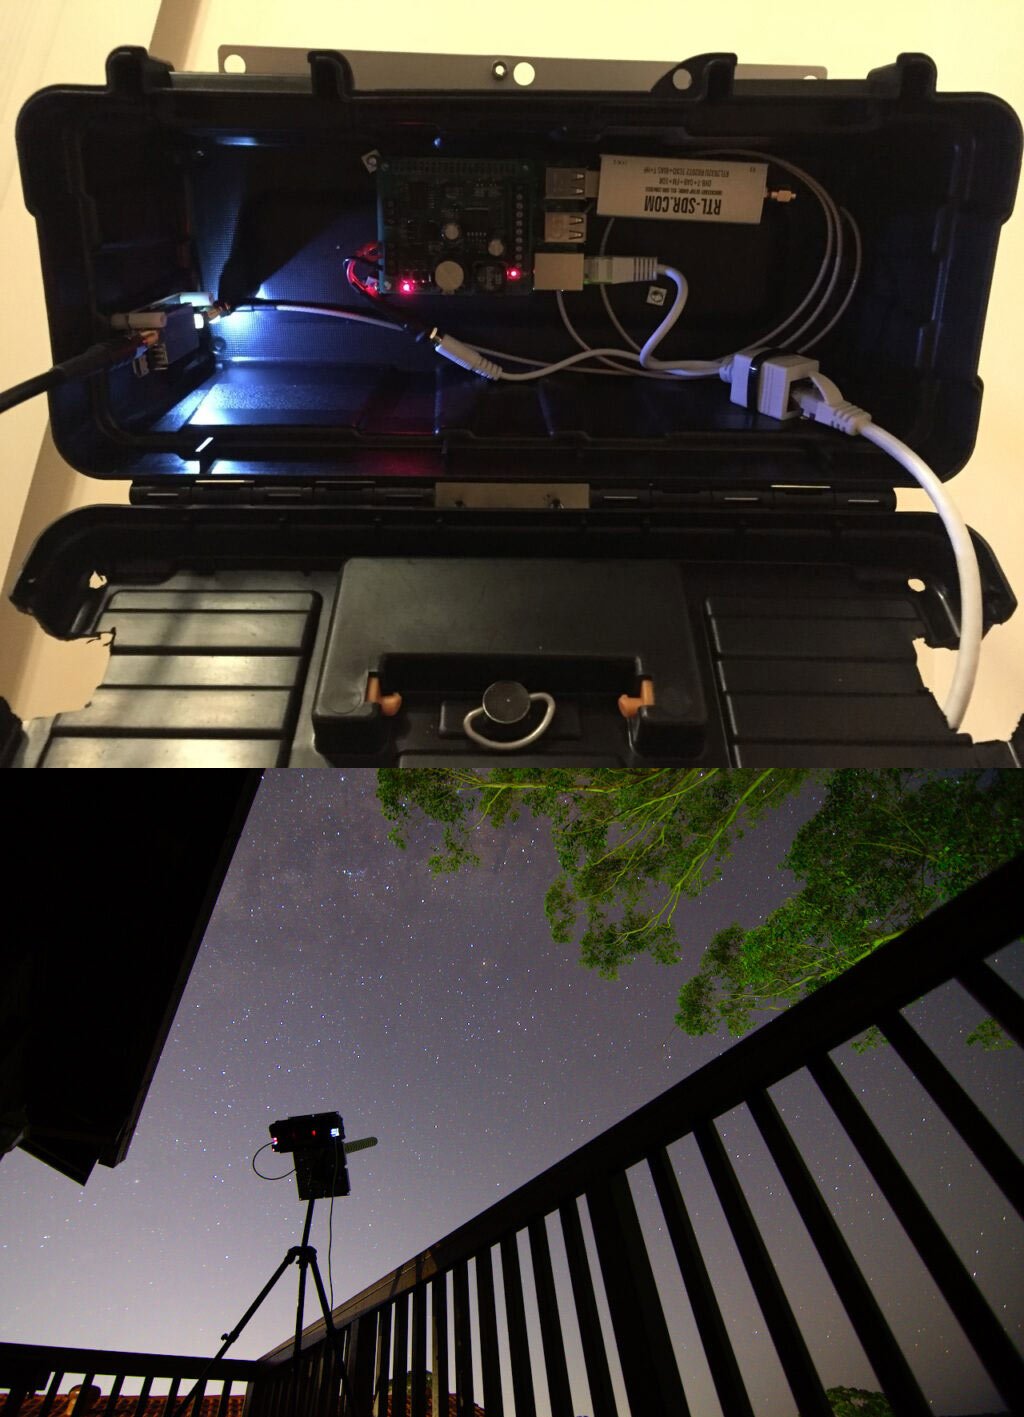
Thank you to Geoff for submitting his experience with creating a hydrogen line radio telescope out of an easy to build helical antenna, Raspberry Pi, LNA and an RTL-SDR. The Hydrogen Line is an observable increase in RF power at 1420.4058 MHz created by Hydrogen atoms. It is most easily detected by pointing a directional antenna towards the Milky Way as there are many more hydrogen atoms in our own galaxy. This effect can be used to measure the shape and other properties of our own galaxy.
Earlier in the year we uploaded a tutorial showing how to observe the Hydrogen line with a 2.4 GHz WiFi antenna. In Geoff's setup he used a home made Helical antenna instead. This antenna is basically a long tube with a spiral wire element wrapped around the tube. He also shows how he needed to impedance match the antenna with a triangular piece of copper tape. The result is a directional antenna with about 13 dBi gain. To complete his setup he used a NooElec SAWBird H1+ LNA/Filter, an RTL-SDR Blog V3 dongle and a Raspberry Pi.
The results show a clear increase in RF power at the Hydrogen line frequency when the antenna points at the Milky Way, indicating that the setup works as expected. It's good to see a Helical working for this, as it is fairly light weight and could easily be mounted on a motorized mount to scan the entire sky.
A Hydrogen Line Radio Telescope made with a Helical Antenna.
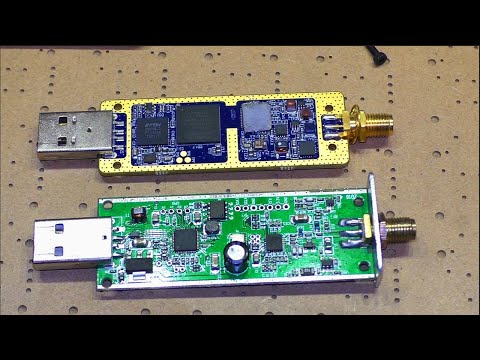
Over on YouTube a Russian language channel called "HAM Radio Channel" has uploaded a video that compares our RTL-SDR Blog V3 against a ColibriNano. While the video is narrated in Russian, it is easy to understand the side by side comparisons with the V3 running on HDSDR on the left of the screen, and the ColibriNano running on its custom software on the right.
The Russian made ColibriNano is a 14-bit direct sampling SDR with 0.1-55 MHz tuning range (undersampling up to 500 MHz), and up to 3 MHz bandwidth. It costs about US$280 - US$300 depending on the region. The RTL-SDR Blog V3 is our US$24.95 receiver with built in direct sampling mod which allows users to bypass the tuner in software resulting in a low-end HF receiver.
While the RTL-SDR Blog V3 cannot compare spec-wise to the ColibriNano, the review shows that the 12x cheaper SDR can still hold up fairly well against the higher end product. Of course as we always say, the differences between most SDRs only become apparent in challenging signal conditions, and we're sure that the ColibriNano would win out in conditions with very strong and weak signals being received together without appropriate pre-filtering. But if the conditions and/or pre-filtering is right, we belive that the RTL-SDR Blog V3 is still the best bang for your buck overall.
Что лучше? RTL-SDR или ColibriNANO? Сравнение SDR приемников
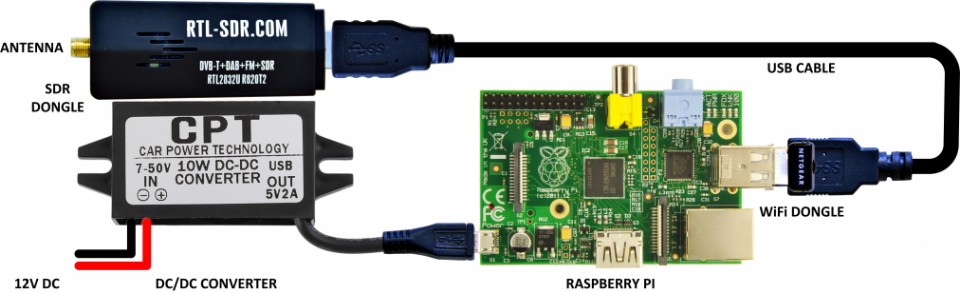
AIS stands for Automatic Identification System and is used by ships to broadcast their GPS locations in order to help avoid collisions and aide with rescues. An RTL-SDR with the right software can be used to receive and decode these signals, and plot ship positions on a map.
The School Amateur Radio Club Network publishes a simple project aimed at promoting the deployment of maritime Automatic Information System (AIS) receiving stations around the world using cheap RTL-SDR dongles and Raspberry Pi computers. The purpose of the project is to improve the existing terrestrial AIS receiving network by encouraging enthusiasts to setup their own AIS receiving stations and to disseminate their local vessel traffic data freely to AIS Servers. This data can then be used by many organisations involved in monitoring and improving the safety and security of shipping.
The SARCNET project, which works on all models of Raspberry Pi, makes building the AIS receiving station simple by providing pictorial construction details with a pre-packaged Raspberry Pi image to download. The free project uses open-source software and a bootable Raspberry Pi image which has been updated to use the latest Raspbian Lite operating system.
One of the attractions of building your own AIS receiving station is that some AIS servers reward you when you freely upload your local vessel tracking data. They publish your station information, showing your station position on a map and your receiving statistics like messages per hour and coverage in nautical miles. Some give you free, premium access to their AIS data, which can be viewed on their mobile apps. Even so, by operating one of these AIS receiving stations, you will have the satisfaction of making the world a safer place.
AIS Received with a Raspberry Pi and RTL-SDR Dongle.
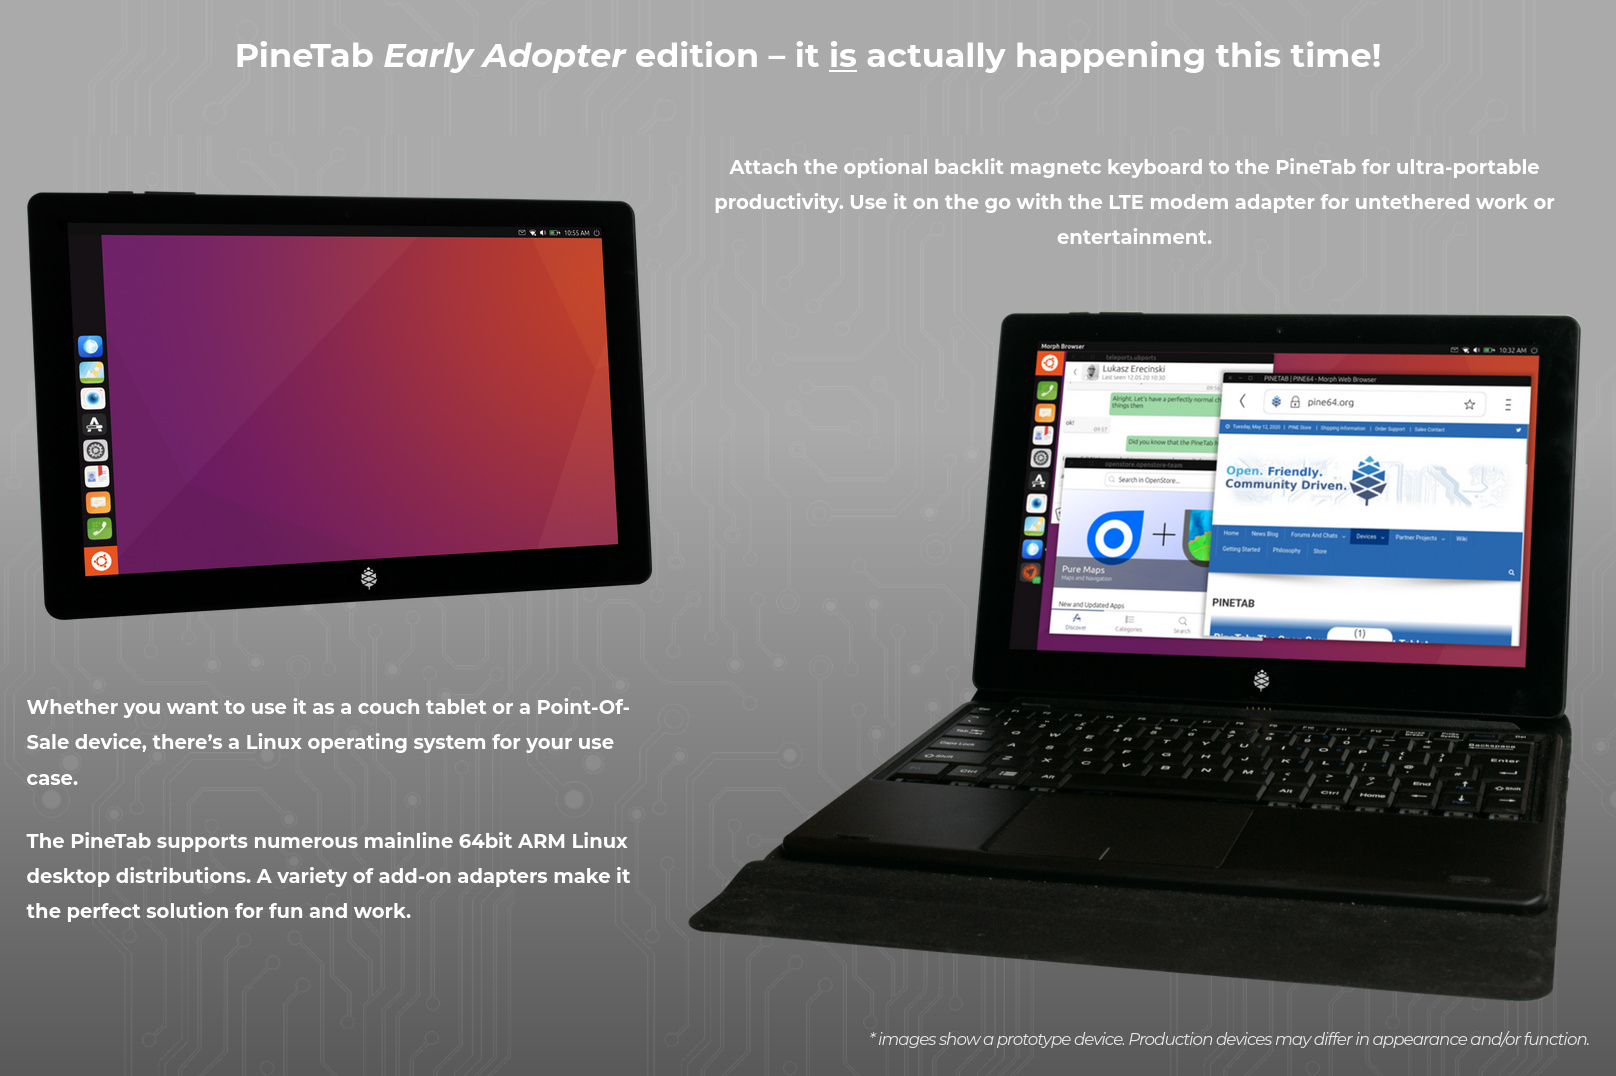
The PineTab is an upcoming $100 open source Ubuntu Linux Tablet being created by PINE who are known for their low cost Pine64 single board computers, Pinebook Laptop and Linux based PinePhone. The PineTab is not yet for sale, and they have just announced their intention to begin taking pre-orders in late May, and that the first production run will be a limited quantity pilot production intended only for early adopters.
What's interesting about the PineTab is that they are advertising that they are working on expansion options, with one expansion module being an RTL-SDR. It seems that the expansion module will allow cards to be inserted internally, keeping everything tidy on the outside. Apart from the RTL-SDR, they will also offer LoRa, LTE (with GPS) and sata SSD add on cards.
The standard specs of the PineTab are shown below:
Allwinner A64 Quad Core SOC with Mali 400 MP2 GPU
2GB LPDDR3 RAM
10″ MiPi 720p Capacitive LCD
Bootable Micro SD Slot
64GB of eMMC
microHDMI port for external HD output
USB 2.0 A host
Micro USB 2.0 OTG
2Mpx front-facing camera
5Mpx rear camera
Optional M.2 slot
Speakers and Microphone
Volume rocker and ‘home’ button
Magnetically attached keyboard (optional)
6000mAh battery
3.5″ Barrel Power (5V 3A) Port
Multiple expansion boards for LTE, LoRa and SATA SSD
Derpcon is a COVID-19 inspired information security conference that was held virtually between April 30 - May 1 2020. Recently the talks have been uploaded to their YouTube channel. One interesting SDR talk we've seen was by Kelly Albrink and it is titled "Ham Hacks: Breaking into the World of Software Defined Radio". The talk starts by giving a very clear introduction to software defined radio, and then moves on to more a complex topic where Kelly shows how to analyze and reverse engineer digital signals using a HackRF and Universal Radio Hacker.
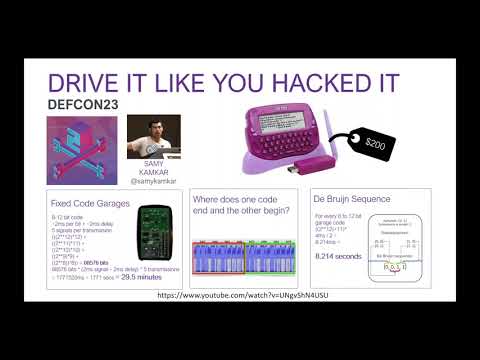
RF Signals are basically magic. They unlock our cars, power our phones, and transmit our memes. You’re probably familiar with Wifi and Bluetooth, but what happens when you encounter a more obscure radio protocol? If you’re a hacker who has always been too afraid of RF protocols to try getting into SDRs, or you have a HackRF collecting dust in your closet, this talk will show you the ropes. This content is for penetration testers and security researchers to introduce you to finding, capturing, and reverse engineering RF signals. I’ll cover the basics of RF so you’re familiar with the terminology and concepts needed to navigate the wireless world. We’ll compare SDR hardware from the $20 RTLSDR all the way up to the higher end radios, so you get the equipment that you need without wasting money. I’ll introduce some of the software you’ll need to interact with and analyze RF signals. And then we’ll tie it all together with a step by step demonstration of locating, capturing, and reverse engineering a car key fob signal.
Ham Hacks: Breaking into the World of Software Defined Radio - Kelly Albrink
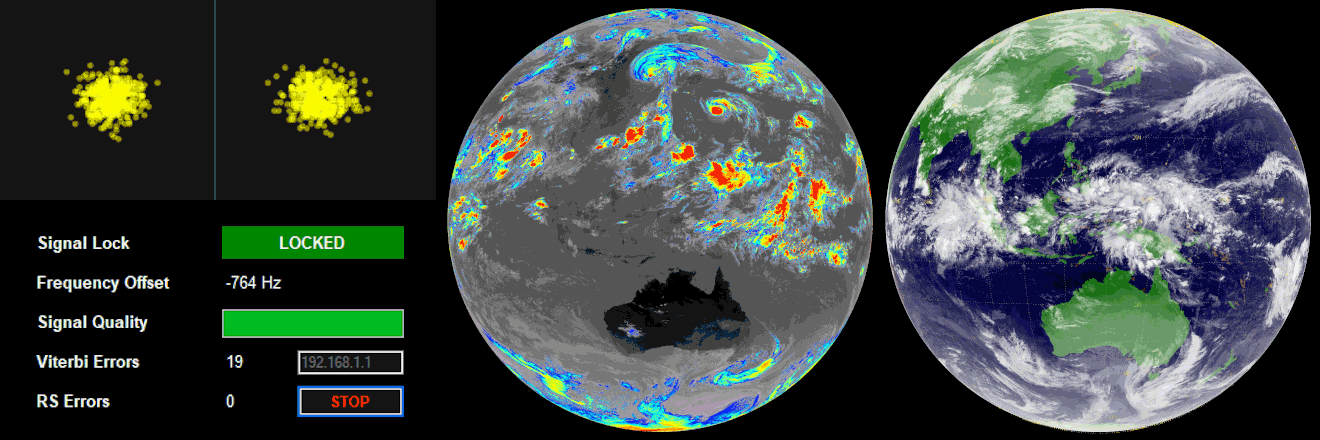
Over on his website VKSDR has recently released a tutorial about his Linux based xirt-rx software which allows RTL-SDR and other SDR owners receive weather images from the geostationary satellite known as GEO-KOMPSAT-2A (GK-2A). GK-2A is a Korean satellite, hence it is positioned over the Asia-Pacific region, covering Asia, Eastern Russia, Australia and New Zealand.
To receive images from GK-2A you'll need an RTL-SDR, 2.4 GHz WiFi grid antenna and an L-band LNA. We have an earlier tutorial about receiving GK-2A and GOES geostationary L-band satellites that goes into more detail about the hardware required.
VKSDR's xrit-rx software decodes the Low Rate Information Transmission (LRIT) signal from GK-2A which provides a 64kbps data stream and full disk images of the earth every 10 minutes. His tutorial explains the various image types that are transmitted, shows a few example images, and shows that some smooth animations can be created with the 144 images received over a day. The rest of the tutorial goes into the software setup, and explains the installation and configuration procedure.
We note that the latest version of xrit-rx now also comes with a nice web based dashboard that allows you to view the latest image, as well as the upcoming image schedule.
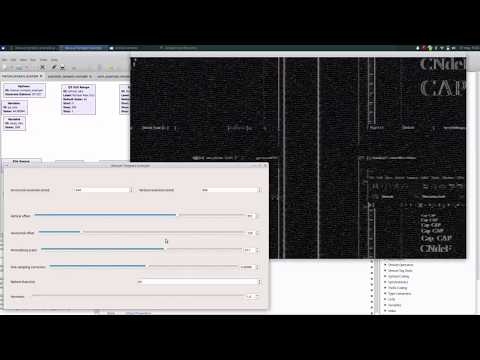
TEMPEST refers to a technique that is used to eavesdrop on electronic equipment via their unintentional radio emissions (as well as via sounds and vibrations). All electronics emit some sort of unintentional RF signals, and by capturing and processing those signals some data can be recovered. For example the unintentional signals from a computer screen can be captured, and converted back into a live image of what the screen is displaying.
Until recently we have relied on an open source program by Martin Marinov called TempestSDR which has allowed RTL-SDR and other SDR owners perform interesting TEMPEST experiments with computer and TV monitors. We have a tutorial and demo on TempestSDR available on a previous post of ours. However, TempestSDR has always been a little difficult to set up and use.
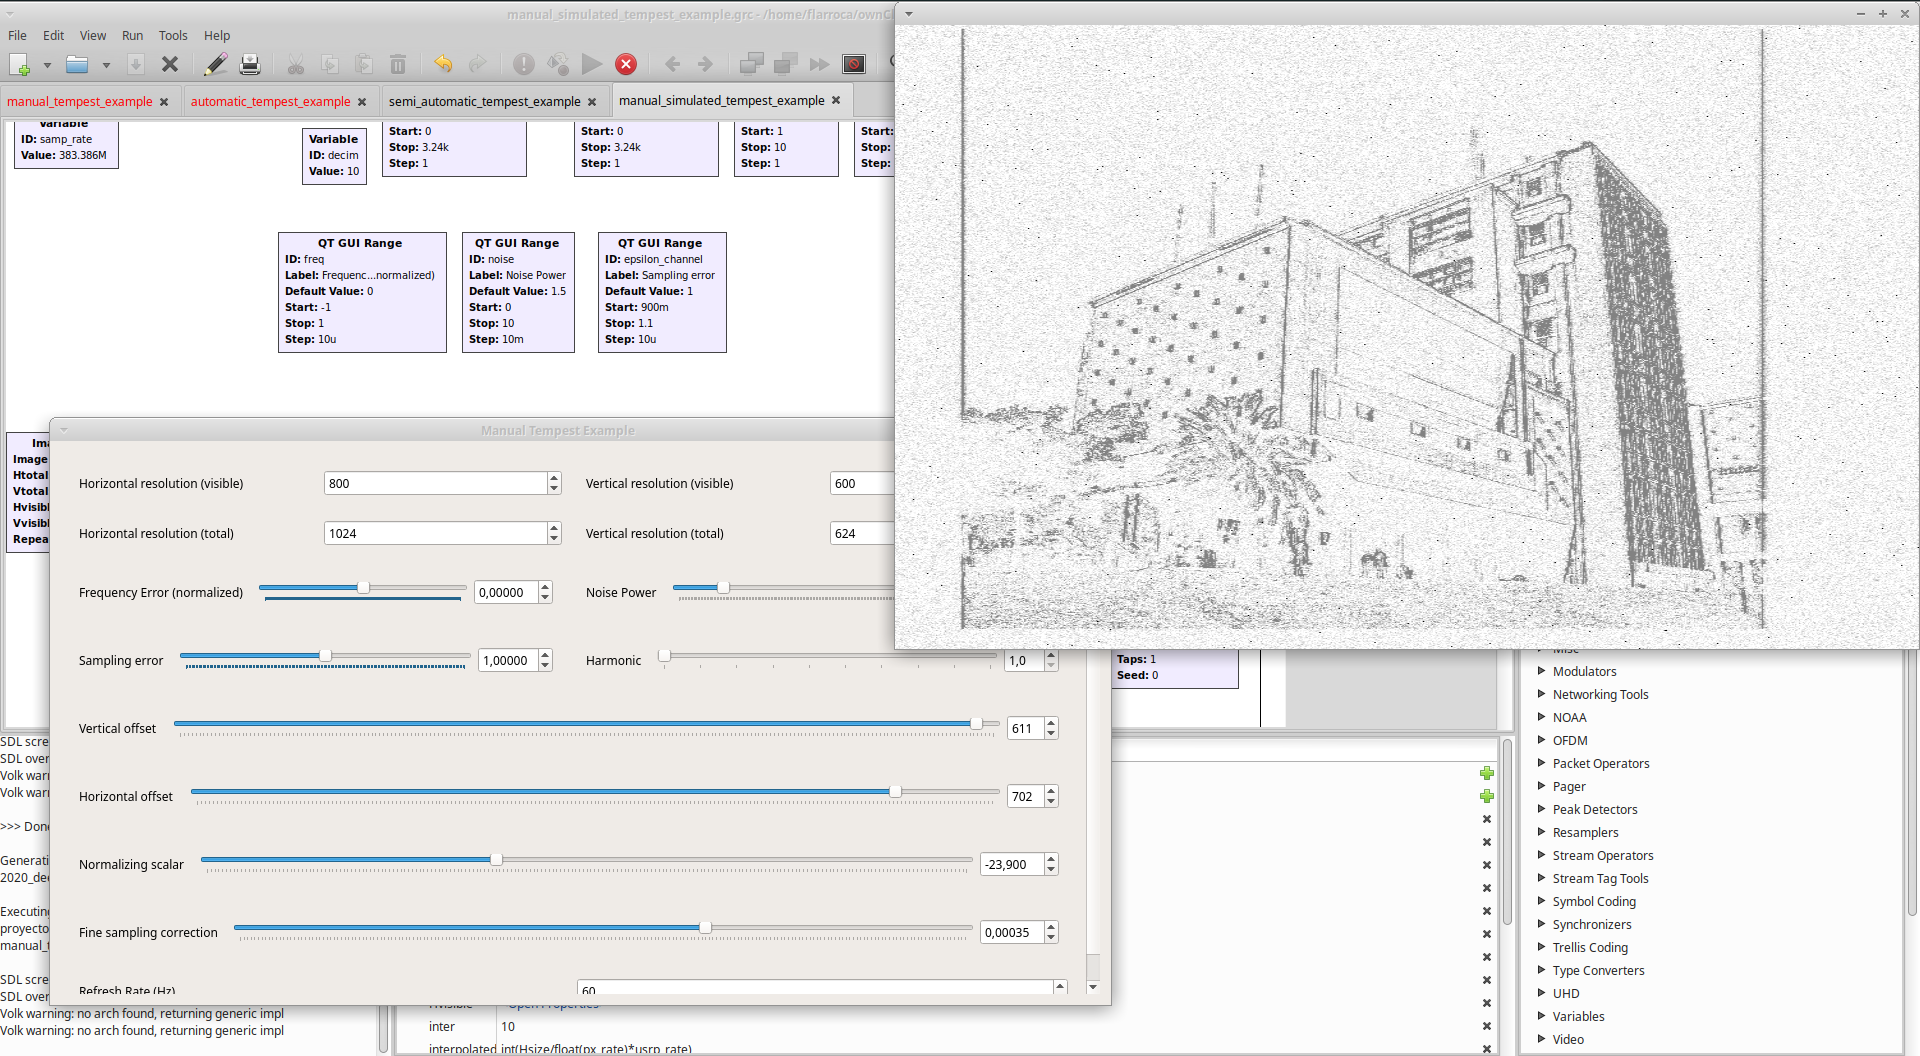
The GNU Radio implementation is a good starting point for further experimentation, and we hope to see more developments in the future. They request that the GitHub repo be starred as it will help them get funding for future work on the project.
The creators have also released a video shown below that demonstrates the code with some recorded data. They have also released the recorded data, with links available on the GitHub. It's not clear which SDR they used, but we assume they used a wide bandwidth SDR as the recovered image is quite clear.