Over on YouTube Andreas Spiess has been helping his friend create a pressure monitoring system for his home brew beer bottles. In order to do this, Andreas uses an externally mounted after market wireless tire pressure sensor whose data can be received with an RTL-SDR and the rtl_433 decoder software. Modern vehicle tires contain a TPMS (tire pressure monitoring system) sensor, which keeps track of tire pressure, temperature and acceleration. The data is wirelessly transmitted via 433 or 315 MHz to the cars dashboard and computer for safety monitoring.
In the first video Andreas discusses tire pressure monitors and how they could be used for other non-tire applications, talks a bit about the wireless protocol used, and how to reverse engineer it. He notes that the author of rtl_433 was able to implement his particular tire pressure sensor brand's protocol into the rtl_433 database, so now anyone can decode them. Finally in this video he also shows that he can easily spoof a flat tire signal using a HackRF and GNU Radio which might cause a modern high end car to refuse to move.
The second video shows how to continuously monitor that TPMS data for the home brew set up. Andreas uses an RTL-SDR and Raspberry Pi running rtl_433, which outputs it's data into Mosquitto, Node-Red, InfluxDB and the Grafana. These programs help to read, manage, log and graph the data. The rtl_433 program is also monitored by Supervisord which automatically restarts rtl_433 if the program crashes.
NOAA weather satellites broadcast an Automatic Picture Transmission (APT) signal, which contains a live weather image of your area. With an RTL-SDR and antenna they can be received and downloaded every time one of the satellite's passes overhead which could be multiple times a day.
Our standard NOAA weather satellite tutorial makes use of SDR#, audio piping and the WXtoIMG to receive NOAA satellite images. Martin's guide and software might be slightly easier for newbies as it only involves recording an audio WAV file, then loading it up into his software. The disadvantage is that the image is not colorized, and not displayed in real time as it is in WXtoIMG.
As you may already know, the old standard software in NOAA image decoding, WXtoIMG, is now considered abandonware, and the only place to get it is from a third party mirror rehosting the now defunct WXtoIMG website. As WXtoIMG is closed source no further development can occur on it. Martin's NOAA-APT still misses a lot of the advanced features of WXtoIMG but it is fully open source and multiplatform, and so it is a very promising program.
Receiving NOAA satellite images with noaa-apt and SDR#
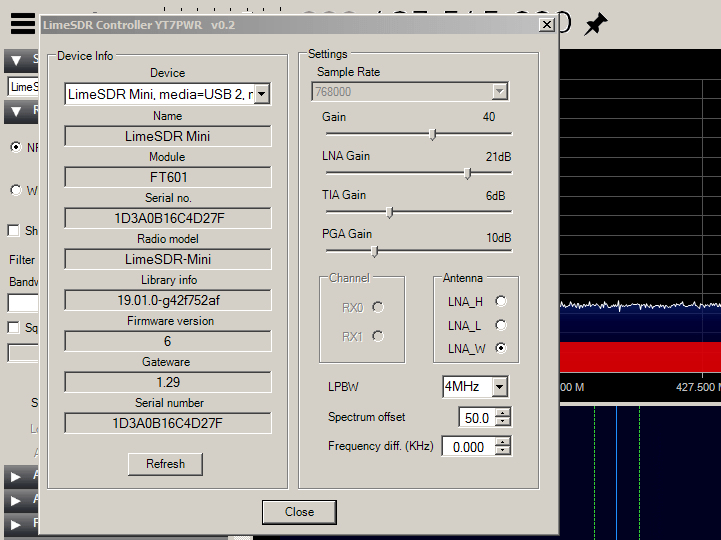
Steve notes that to get the Limesdr Mini to run in SDR# he simply had to download and extract into the SDR# folder a front end plugin developed by Goran Radivojevic (YT7PWR). After adding the front end plugin XML definition, it can now be found in the SDR# device selection menu. This plugin should work for the standard LimeSDR as well.
We note that this is the same procedure for other SDRs too, such as the PlutoSDR. If you have an SDR not supported by default in SDR#, search for "[your_sdr] + SDR# front end plugin" on Google, and if you are lucky you might find something already exisiting.
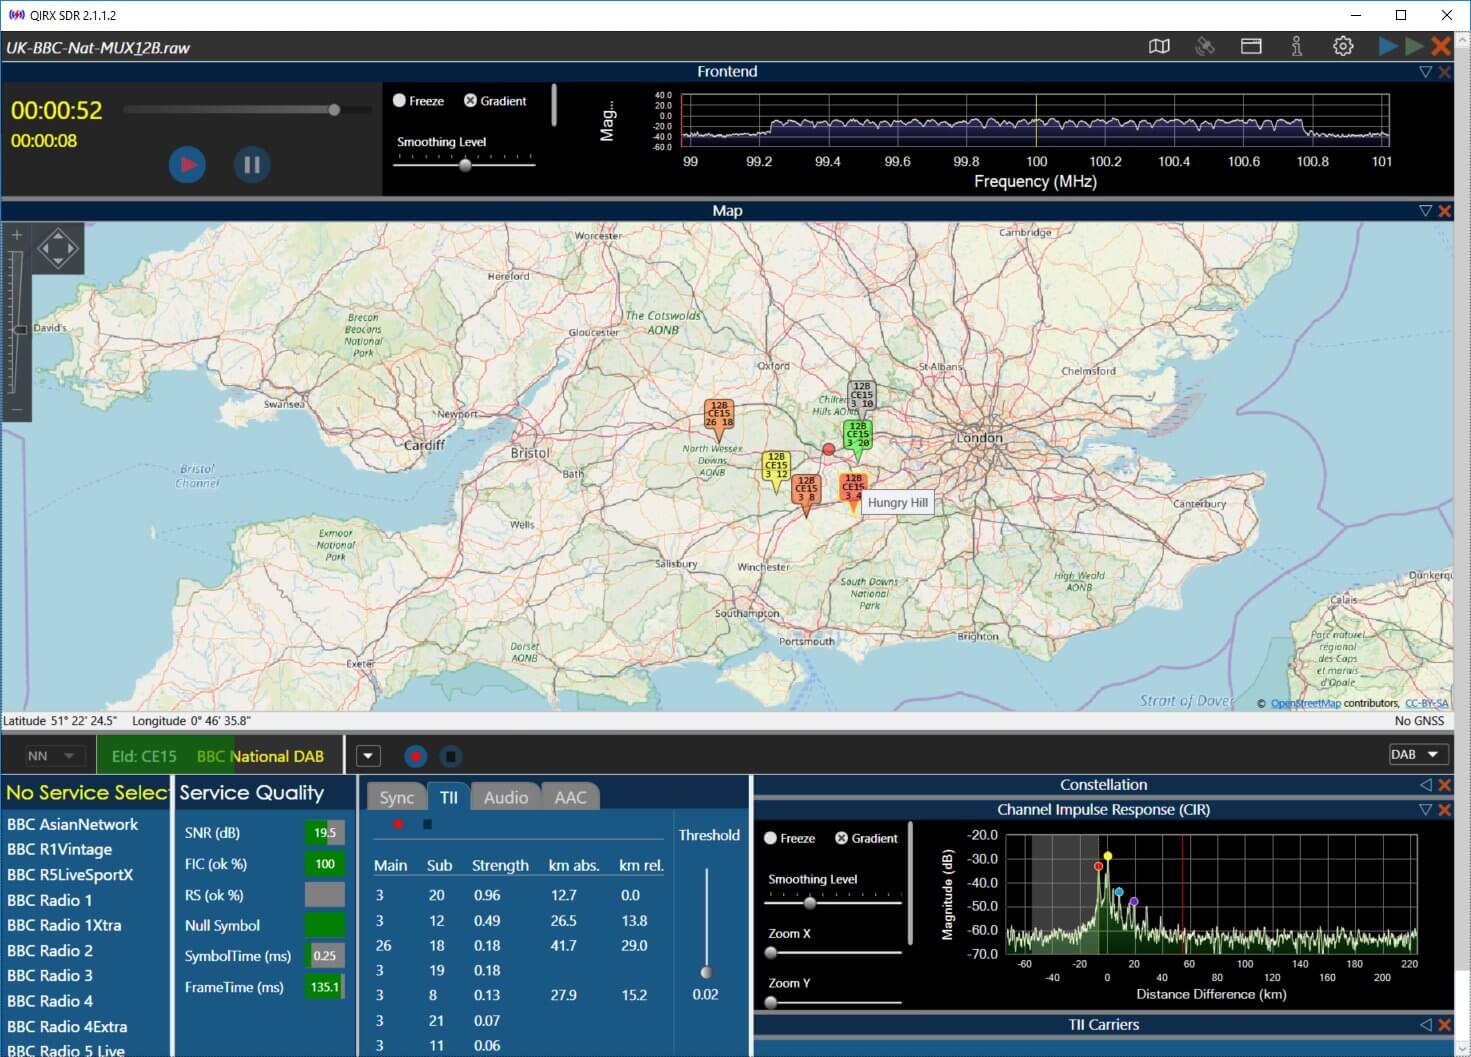
The main new feature is the integration of Openstreetmap to display the locations of DAB transmitters (please see attached picture of a raw recording from England), together with the own position of the receiver.
In case the transmitter ident code (TII) is detected and the transmitter is contained in the database, it is displayed on the map as an icon, colored according to the TII signal strength.
The "Own Position" is indicated as a red or green dot, either (without GNSS sensor) placed by dragging the red circle with the mouse to its correct position, or by attaching a GNSS (GPS or GLONASS) sensor.
When recording raw I/Q data, the GNSS positions are written into a second file, parallel with the .raw file. On replaying, the current recorded geolocation is displayed synchronously to the recorded transmitters on the map. This might be useful in a mobile environment. The distances are displayed in the TII table.
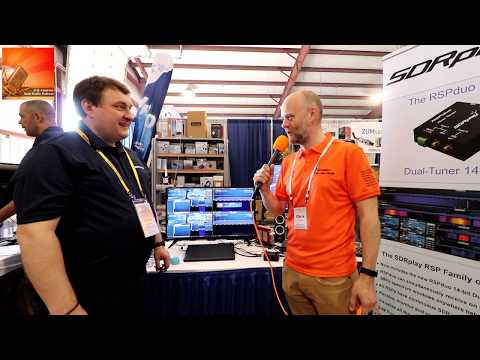
At this years Hamvention Chris Howard from ICQ Amateur interviewed Andy at the SDRplay booth. In the interview they discuss various new features and improvements to SDRuno, the official software for SDRplay devices.
Later they also discuss the RSPduo, and the new diversity feature coming in a new version of SDRUno that is due to be released in a few weeks. The diversity feature works with the two tuners on the RSPduo to combine or subtract signals from two different antennas. Andy notes that diversity should be able to achieve a net 3dB increase in SNR, and is most useful for a moving or dynamic signal environment.
Finally Andy discusses the future development of SDRUno and notes that they're working on a plugin environment which will allow the creation of third party demod/decoders, a multiplatform server for remote SDR, and eventually cross platform drivers and SDRUno.
SDRPlay Announce Update to SDRUno and Future Plans for Software Defined Radio at Hamvention 2019
Several years ago back in 2013 and 2014 we uploaded two posts showing how it was possible to use an SDR to listen in to restaurant pagers and collect data from them, and also to spoof their signal and activate them on demand. If you were unaware, restaurant pagers (aka burger pagers), are small RF controlled discs that some restaurants hand out to customers who are waiting for food. When the food is ready, the pager is remotely activated by the staff, and then flashes and buzzes, letting the customer know that their order can be picked up.
Over on YouTube user Tony Tiger has uploaded a video that shows an overview on how to reverse engineer the signal coming from a particular brand of restaurant pagers. The tools he uses include a HackRF SDR and the Inspectrum and Universal Radio Hacker software packages. If you're interested in reverse engineering signals, this is a good overview. Later in the video he shows a GNU Radio and Python program that he's created to control the pagers.
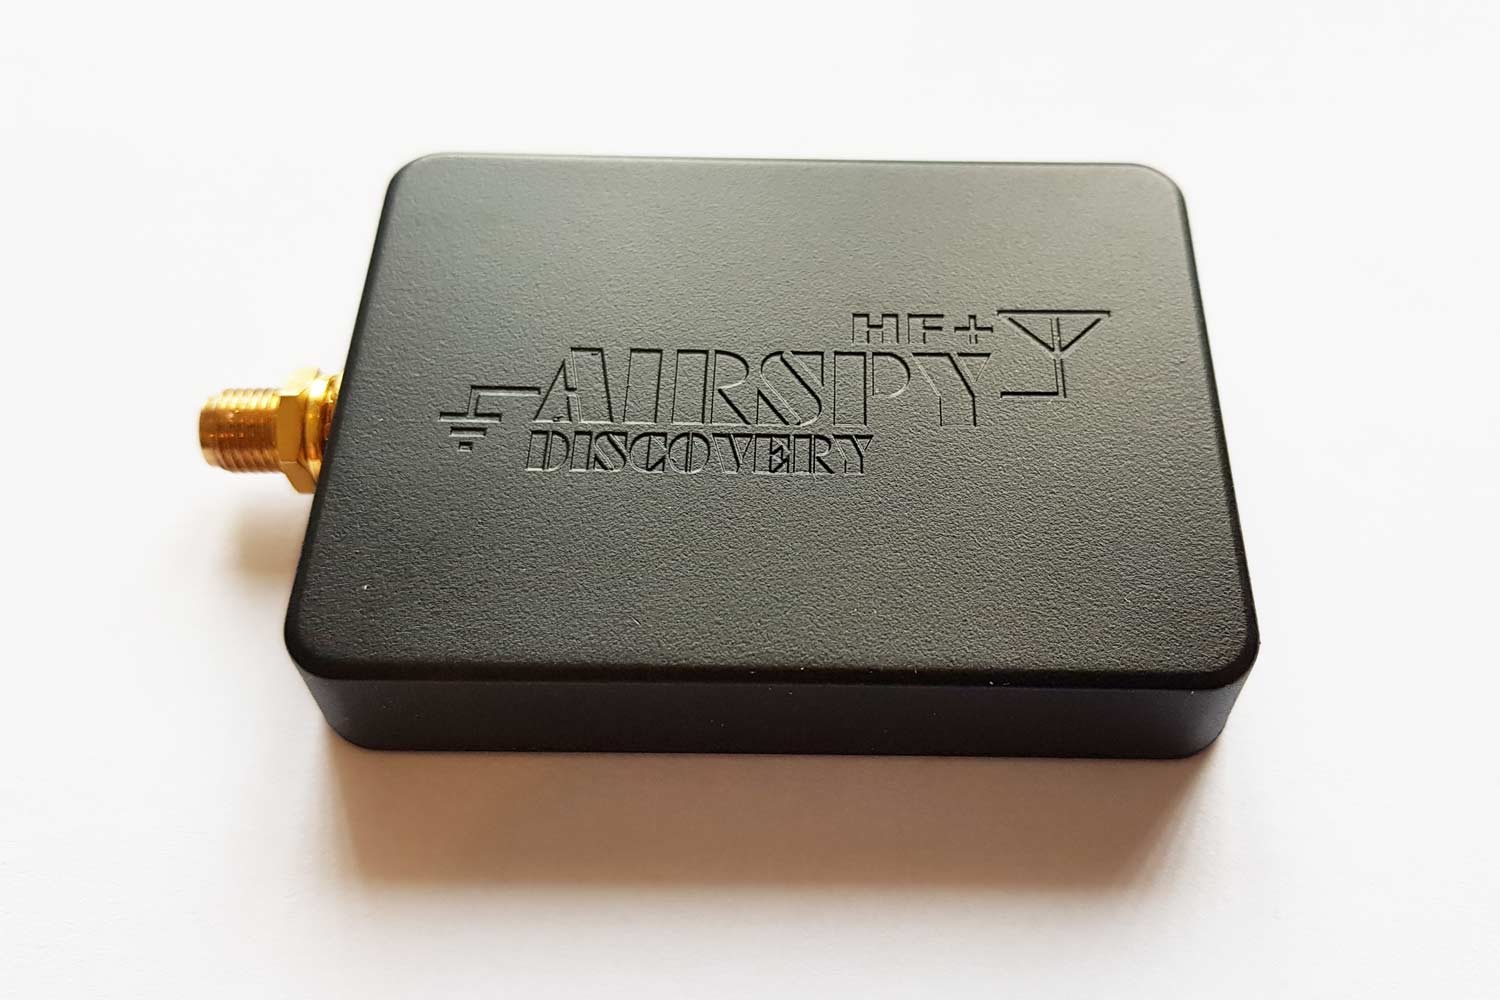
The Airspy team have recently announced the release of their new "Airspy HF+ Discovery". The Discovery is a smaller, lighter and improved version of the Airspy HF+. The frequency range, bandwidth and bit depth and specs all remain the same, but there are some improvements to the dynamic range due to the addition of preselectors. The original Airspy HF+ was released back in mid-2017 and it still is in our opinion one of the best low cost HF DX SDRs because of its very high dynamic range design, so strong interfering signals are not much of a problem. We have a previous review of the Airspy HF+ available here were we compare it against a number of other HF SDRs.
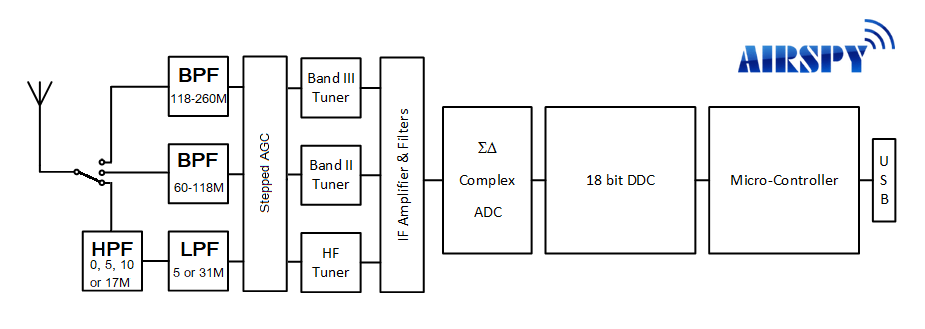
Although the dynamic range was very high, some users reported that extremely strong signals could still desensitize the HF+. So in response the new HF+ Discovery improves on the dynamic range even further by including multiple low insertion loss preselectors built in to the front end. For HF there is are 0, 5, 10 or 17 MHz High Pass Filter corners, and 5 or 31 MHz Low Pass filter corners in series which can provide filtering for a number of bands. For VHF, there are 60-118 MHz and 118-260 MHz filters. The designer boasts that the inclusion of these filters bring the HF+ Discovery up to the performance level of expensive new SDR based ham rigs like the Icom 7300.
Airspy HF+ Discovery Block Diagram
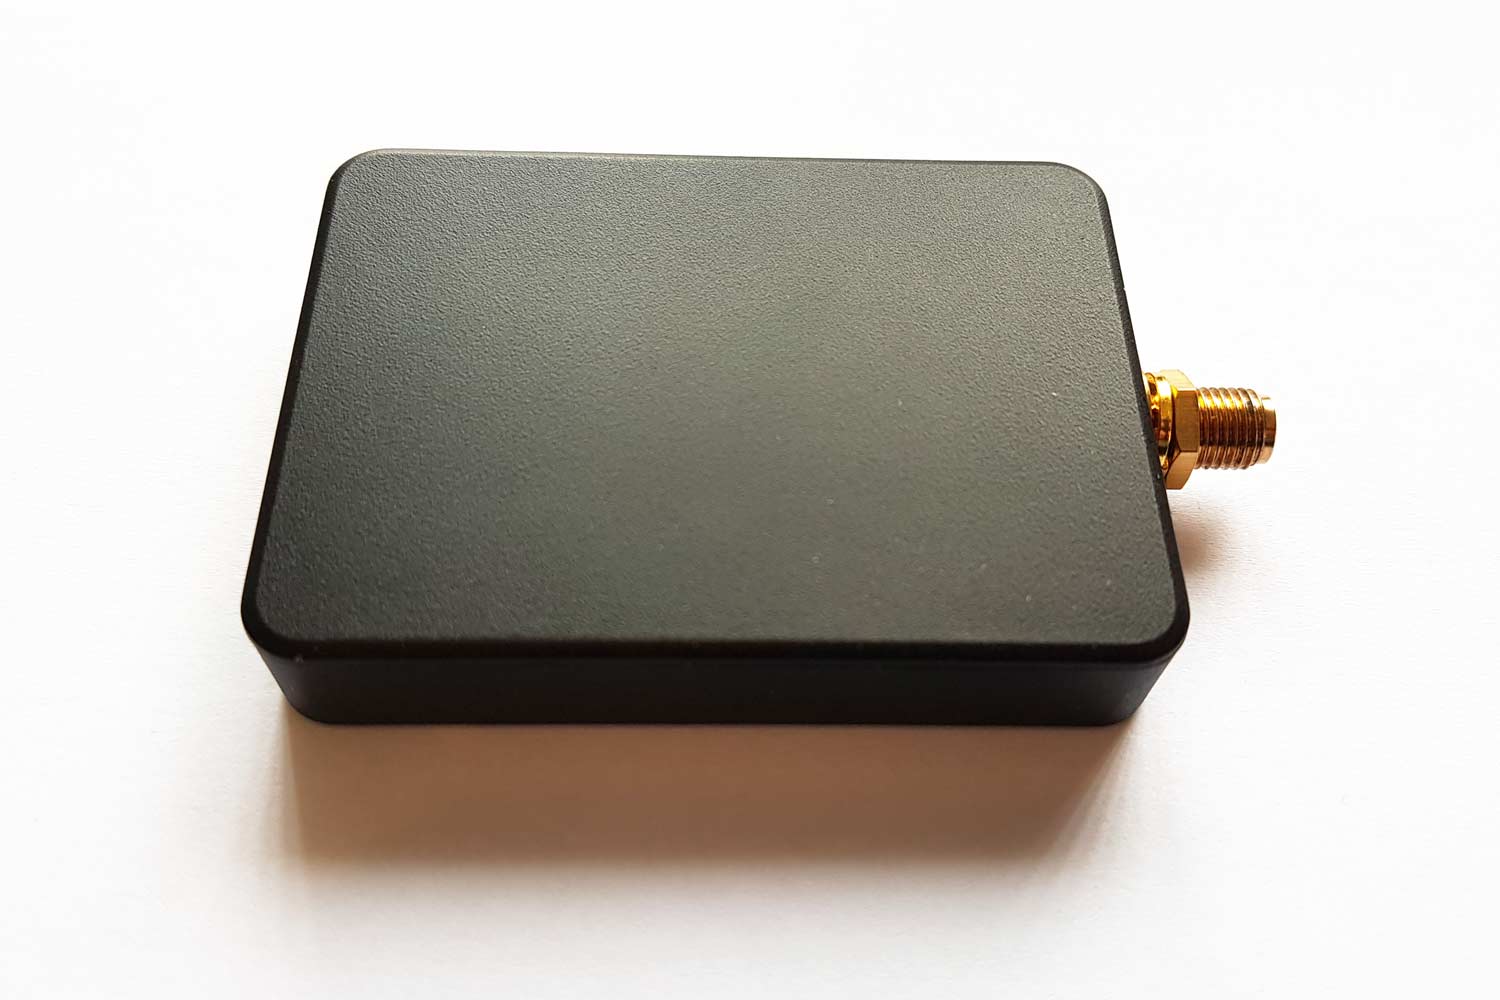
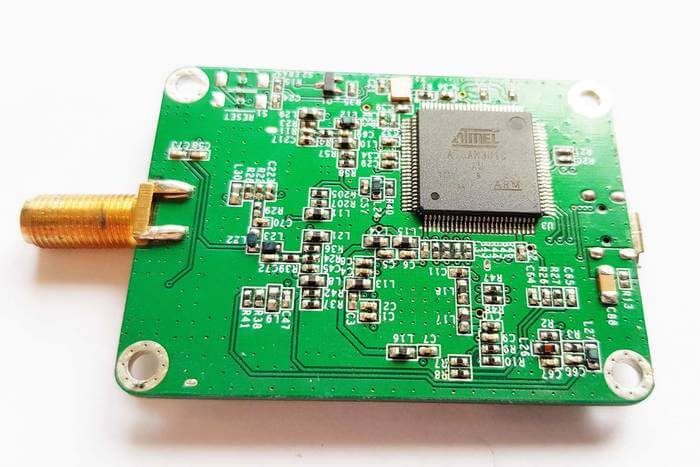
As for the physical design, the enclosure is now much smaller (60 x 45 x 10 mm) and made from plastic. These changes make the SDR very light at only 28 grams (1 oz). Although the case is plastic, local interference doesn't seem to be an issue as the PCB itself is fully shielded. The plastic case is rugged and will withstand a beating. Also, the original HF+ had two input ports, one for HF and one for VHF whereas the HF+ Discovery only has one input port which covers all bands.
Despite the improvements and additional circuitry, the Airspy HF+ Discovery is actually priced cheaper than the original. The original HF+ costs US$199, but the Discovery is only US$169. So unless you require the two input ports, the HF+ Discovery should be the way to go. Currently the HF+ Discovery is in preorder status, and can be ordered internationally from the manufacturer iTead, or within the US from airspy.us. As far as we can see no expected shipping date has been given yet, but we expect that it would ship soon.
Initial Testing
We were sent a prototype sample of the Airspy Discovery HF+ a few weeks ago. We note that the version we received was an early prototype and does not yet implement the 10 MHz and 17 MHz HF filters.
From our test on real world signals we find that it performs at least as good as the original Airspy HF+, if not better due to the additional filtering. The signals in our area were not strong enough to really overload the original Airspy HF+, so any benefit from the additional filtering may not be too apparent. Insertion loss from the filters seems to be not noticeable, as we saw no differences to SNR levels between the two units.
In our VHF tests we saw no differences between the two units, but as with HF we note that it would take some fairly strong signals to make a difference.
In a future post we'll follow up with some tests by injecting strong signals into the SDR, and seeing how well it can performs with the additional filtering compared to the original.
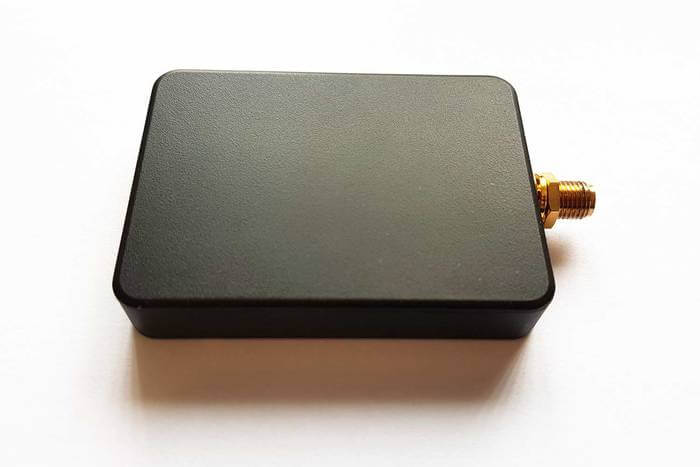
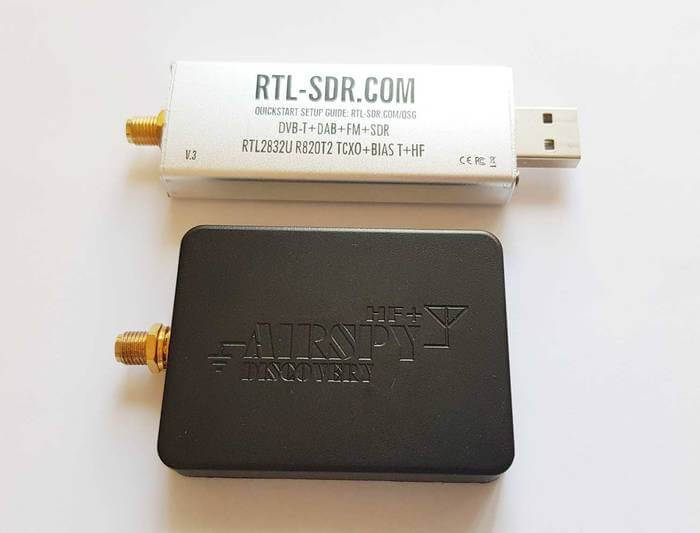
TOP: Airspy HF+ Discovery, BOTTOM: Original Airspy HF+
Conclusion
If you have an HF+ and were still troubled by really strong out of band interferers, the HF+ Discovery might be a good upgrade. Newcomers to SDR looking for high a performance DX SDR for HF and VHF should also strongly consider the HF+ Discovery. The original HF+ is still one of the best low cost DX SDRs we've tested, and the Discovery only makes it better.
As far as we can see regarding the choice between the original HF+ and HF+ Discovery, the only reason to really consider the original HF+ would be if you prefer to have separate HF and VHF antenna ports. The plastic case brings no real disadvantage, and the preselectors improve dynamic range and have no noticeable insertion loss.
If the math behind software defined radio and digital signal processing (DSP) concepts does your head in, the RSGB has a short document that explains core DSP concepts without any math. If you're just looking for an overview of what terms like sampling, nyquist, aliasing, number of bits, undersampling, digital filters and fast fourier transform mean, then this short article is a great start.
This article, based on a presentation first given at the 2017 RSGB Convention, is intended for the amateur radio exam tutors to help with teaching the new Software Defined Radio (SDR) material in Syllabus 2019. It goes slightly beyond the syllabus requirements and is designed to give a basic background into Digital Signal Processing (DSP), enabling Tutors to answer some questions that trainees may ask, and to help tutors develop their own knowledge. Links to suggested further reading are given for those who might want to know more.