Back in March of this year we posted about Nexmon SDR which is code that you can use to turn a Broadcom BCM4339 802.11ac WiFi chip into a TX capable SDR that is capable of transmitting any arbitrary signal from IQ data within the 2.4 GHz and 5 GHz WiFi bands. In commercial devices the BCM4339 was most commonly found in the Nexus 5 smartphone.
Recently Nexmon have tweeted that their code now supports the BCM43455c0 which is the WiFi chip used in the recently released Raspberry Pi 3B+. They write that the previous Raspberry Pi 3B (non-plus) cannot be used with Nexmon as it only has 802.11n, but since the 3B+ has 802.11ac Nexmon is compatible.
Combined with RPiTX which is a Raspberry Pi tool for transmitting arbitrary RF signals using a GPIO pin between 5 kHz to 1500 MHz, the Raspberry Pi 3B+ may end up becoming a versatile low cost TX SDR just on it's own.
We are proud to announce that #nexmon now turns Raspberry Pi B3+ computers' Wi-Fi chips (BCM43455c0) into software-defined radios. Visit https://t.co/wku9Go9kRt to try it out! The RPi3 cannot be supported due to its 802.11n PHY which is incapable of raw transmissions.
The software is based on the set up from this excellent tutorial, which creates scripts and a crontab entry that automatically activates whenever a NOAA weather satellite passes overhead. Once running, the script activates the RTL-SDR and APT decoder which creates the weather satellite image. He then uses some of his owns scripts in Twython which automatically posts the images to a Twitter account. His Twython scripts as well as a readme file that shows how to use them can be found in his Google Drive.
I bought the RPi to use it as a Spyserver for my Airspy HF+ SDR.
My main radio listening location is a small house located on a hill outside the city and there is no power grid there (it’s a radio heaven!), so everything has to run on batteries and consume as little power as possible.
My first tests showed that the Raspberry Pi works very well as a Spyserver: the CPU usage stays below 40% and the power consumption is low enough to allow it to run for several hours on a regular USB power bank. If I add a 4G internet connection there I could leave the Spyserver running and connect to it remotely from home.
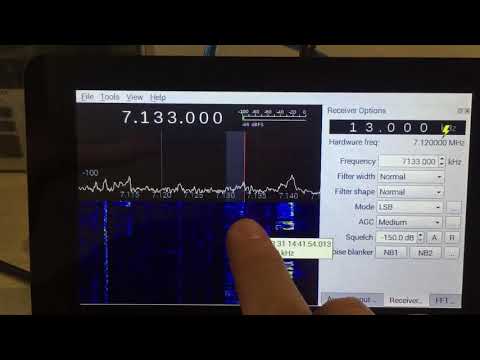
Then I wondered if the Raspberry Pi would be powerful enough to run a SDR client app. All I needed was a portable screen so I bought the official 7” touchscreen for the RPi.
I installed Gqrx, which offers support for the Airspy HF+. I’m happy to say it works better than I expected, even though Gqrx wasn’t designed to work on such a small screen. The CPU usage is higher than in Spyserver mode (70-80%) but the performance is good. Using a 13000 mAh power bank I get about 3.5 hours of radio listening.
On the swling blog post comments Tudor explains some of his challenges including finding a battery that could supply enough current, finding a low voltage drop micro-USB cable, and reducing the noise emanating from the Raspberry USB bus. Check out the post comments for his full notes.
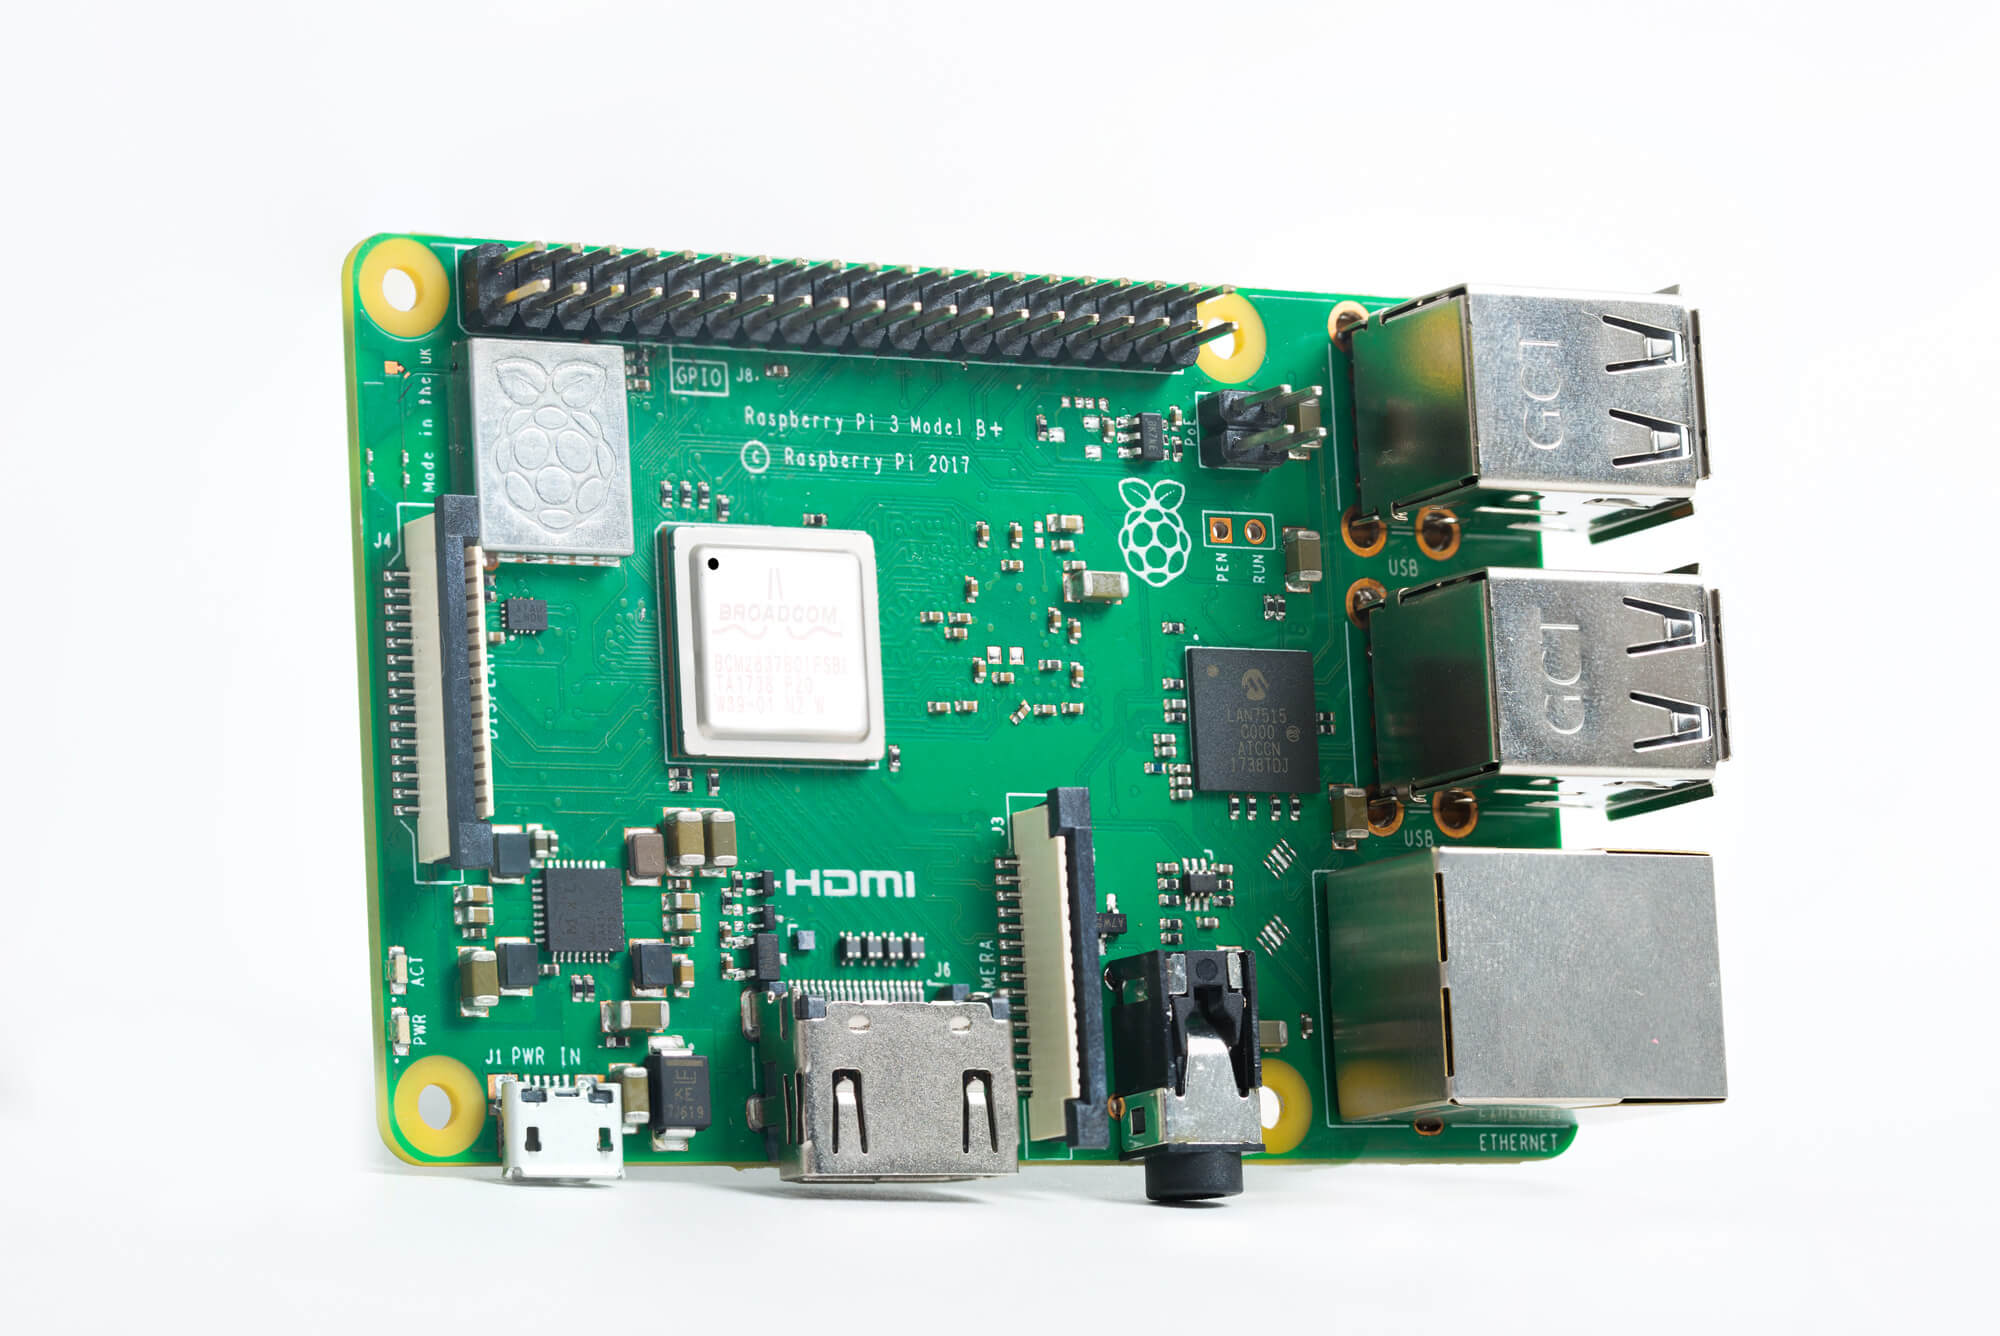
RTL-SDR dongles and other SDRs are often used on single board computers. These small credit sized computers are powerful enough to run multiple dongles, and run various decoding programs. Currently, the most popular of these small computers is the Raspberry Pi 3.
Just recently the Raspberry Pi 3 B+ was released at the usual US$35 price. It is an iterative upgrade over the now older Raspberry Pi 3 B. The 3B+ has an improved thermal design for the CPU, which allows the frequency to be boosted by 200 MHz. WiFi and Ethernet connectivity has also been improved, both sporting up to 3x faster upload and download speeds.
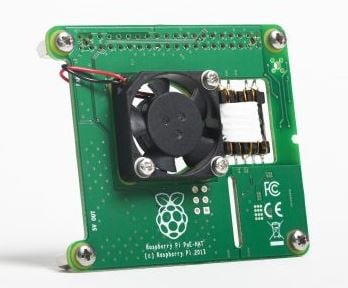
The Raspberry Pi 3 B+ Power over Ethernet Hat
The 3B+ also implements new Ethernet headers which allows for a cleaner Power over Ethernet (PoE) implementation via a hat. Previous PoE hats required that you connect the Ethernet ports together, whereas the new design does not. PoE allows you to power the Raspberry Pi over an Ethernet cable. The official PoE hat is not released yet, but they expect it to be out soon.
The faster processing speed should allow more processing intensive graphical apps like GQRX to run smoother, whilst the improved WiFi connectivity speeds should improve performance with bandwidth hungry applications like running a remote rtl_tcp server. PoE is also a welcome improvement as it allows you to easily power a remote Raspberry Pi + RTL-SDR combination that is placed in a difficult to access area, such as in an attic close to an antenna. Placing the Pi and RTL-SDR near to the antenna eliminates the need for long runs of lossy coax cable. If the Pi runs rtl_tcp, SpyServer or a similar server, then the RTL-SDR can then be accessed by a networked connected PC anywhere in your house, or even remotely over the internet from anywhere in the world.
Thanks to Andrey for writing in and showing us his Java based Meteor-M decoder for the RTL-SDR which he uses on a Raspberry Pi. The decoder is based on the meteor-m2-lrpt GNU Radio script and the meteor_decoder which he ported over to Java. Essentially what he's done is port over to Java a bunch of GNU Radio blocks as well as the meteor decoder. The ported Java blocks could also be useful for other projects that want to be cross platform or run without the need for GNU Radio to be installed.
In his blog post (blog post is in Russian, use Google Translate for English) Andrey explains his motivation for writing the software which was that the Windows work flow with SDR# and LRPTofflineDecoder is quite convoluted and cannot be run headless on a Raspberry Pi. He then goes on to explain the decoding algorithm, and some code optimizations that he used in Java to speed up the decoding. Andrey notes that his Java version is almost 2x slower compared to the GNU Radio version, but still fast enough for real time demodulation.
Meteor-M2 is a Russian weather satellite that operates in the 137 MHz weather satellite band. With an RTL-SDR and satellite antenna these images can be received. Running on a Raspberry Pi allows you to set up a permanent weather satellite station that will consistently download images as the satellite passes over.
Images received with Andry's Meteor-M software running on a Raspberry Pi.
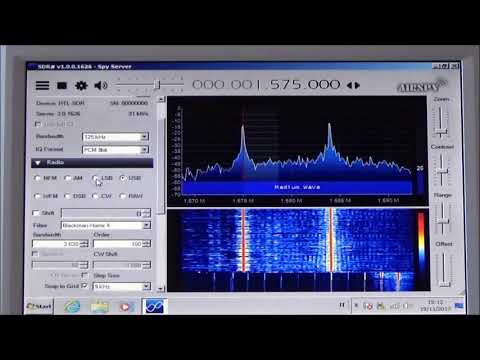
Over on YouTube user IW2DZX has uploaded a video showing him using an old EeePC 900 to receive HF with an RTL-SDR V3 running in direct sampling mode on a Raspberry Pi 3 which is running a SpyServer. An EeePC 900 is an old netbook that was released in 2008 which is lightweight, portable and was fairly cheap. Second hand Eeepc's can now be found on eBay for less than $60 US.
By running the RTL-SDR on a Raspberry Pi 3 with SpyServer the need to have the dongle connected to the netbook is eliminated. Instead the radio data from the RTL-SDR is efficiently sent over a network connection and received via the WiFi on the Eeepc.
Rtl_433 is an RTL-SDR compatible command line based tool for monitoring various 433 MHz ISM band devices, such as temperature sensors, weather monitors, TPMS, energy meters etc. A full list of support devices can be found on the rtl_433 Github.
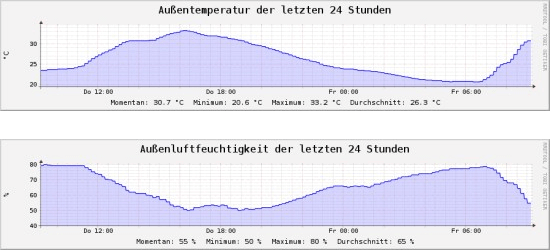
Over on his blog “raspberrypiandstuff” mentions that he’s been using rtl_433 and an RTL-SDR on a remote headless Raspberry Pi to receive and monitor temperature and humidity from his weather station. From the data he’s able to produce some nice graphs that show changes over time.
However, one problem that he ran into was that the USB controller on the Raspberry Pi would sometimes hang. The only solution he’d previously found to fixing it was to physically disconnect and then reconnect the RTL-SDR. But now “raspberrypiandstuff” writes that he’s found a new solution which is to use a small C-program called usbreset.c. Combined with a bash script that detects which device the RTL-SDR is on the bus, this tool helps to automatically reset the USB on the Pi if it fails to keep the RTL-SDR logging 24/7 without physical intervention.
This may be a solution to look into if you’re experiencing similar issues with 24/7 monitoring on the Raspberry Pi. If you’re also interesting in rtl_433 monitoring, “raspberrypiandstuff” also has a post on creating a simple GUI for rtl_433.
UPDATE: Version 2 of RPiTX renders this tutorial obsolete, as it is now very easy to copy and replay signals using the RPiTX GUI (or the "sendiq" command) and an RTL-SDR. This tutorial is still valid for the overall concept.
With an RTL-SDR dongle, Raspberry Pi, piece of wire and literally no other hardware it is possible to perform replay attacks on simple digital signals like those used in 433 MHz ISM band devices. This can be used for example to control wireless home automation devices like alarms and switches.
In this tutorial we will show you how to perform a simple capture and replay using an RTL-SDR and RPiTX. With this method there is no need to analyze the signal, extract the data and replay using a 433 MHz transmitter. RPiTX can replay the recorded signal directly without further reverse engineering just like if you were using a TX capable SDR like a HackRF to record and TX an IQ file.
Note that we've only tested this replay attack with simple OOK 433 MHz devices. Devices with more complex modulation schemes may not work with this method. But the vast majority of 433 MHz ISM band devices are using simple modulation schemes that will work. Also replay attacks will not work on things like car keys, and most garage door openers as those have rolling code security.
A video demo is shown below:
Replay Attacks at 433 MHz with RTL-SDR and a Raspberry Pi running RPiTX
Hardware used and wireless ISM band devices tested with RPiTX
RpiTX
RPiTX is open source software which allows you to turn your Raspberry Pi into a general purpose transmitter for any frequency between 5 kHz to 500 MHz. It works by using square waves to modulate a signal on the GPIO pins of the Pi. If controlled in just the right way, FM/AM/SSB or other modulations can be created. By attaching a simple wire antenna to the GPIO pin these signals become RF signals transmitted into the air.
Of course this creates an extremely noisy output which has a significant number of harmonics. So to be legal and safe you must always use bandpass filtering. Harmonics could interfere with important life critical systems (e.g. police/EMS radio, aircraft transponders etc).
For testing, a short wire antenna shouldn't radiate much further than a few meters past the room you're in, so in this case you should be fine without a filter. But if you ever connect up to an outdoor antenna or amplify the signal then you absolutely must use adequate filtering, or you could find yourself in huge trouble with the law. Currently there are no commercially made 433 MHz filters for RPiTX available that we know of, so you would need to make your own. Also remember that you are still only allowed to transmit in bands that you are licensed to which for most people will be the ISM bands.