Over on his YouTube channel Frugal Radio has released the second episode in his 2020 SDR Guide series. In this video, Frugal Radio shows how to connect to remote SDRs such as KiwiSDR OpenWebRX, WebSDR, SDR-Console v3 Servers, and SDR# SpyServers. He shows how to use these remote SDRs to monitor long range aviation channels, amateur radio operators, and VHF Public Safety channels in the US. He also demonstrates how to decode HFDL signals from aircraft using WebSDR and free software, and verifies the aircraft locations via online tracking sites.
2020 SDR Guide Ep 2 : How to use over 500 remote SDRs free online (webSDR, KiwiSDR & HFDL decode)
Sivan and his collaborators developed inexpensive 434 MHz band tracking tags for bats that emit radio pings every few seconds. These pings do not contain any location data, however the location is accurately tracked by several USRP SDRs with high accuracy GPSDO oscillators set up around the target tracking area. A radio direction finding technique known as "time difference of arrival" or TDoA is used to pinpoint the location of each tag. Sivan writes:
A wildlife tracking system called ATLAS, developed by Sivan Toledo from Tel-Aviv University in collaboration with Ran Nathan from the Hebrew university, enabled a science breakthrough reported in an article in Science that was published yesterday.
The system uses miniature tracking tags that transmit radio pings in the 434 MHz bands and SDR receivers (Ettus USRP N200 or B200). Software processes the samples from receivers to detect the pings and to estimate their time of arrival. The overall system is a "reverse-GPS" system, in the sense that the principles and math are similar to GPS, but the role of transmitters and receivers is reversed. A youtube video explains how the system works. SDR-RTL dongles can certainly detect the pings, but their oscillators are not stable enough to accurately localize the tags.
The system has been used to track 172 wild bats (in batches, some consisting of 60 simultaneously-tagged bats). The results showed that bats can make novel shortcuts, which indicates that they navigate using a cognitive map, like humans. The system, and other ATLAS systems in the Netherlands, England, Germany, and Israel are also tracking many different animals, mostly small birds and bats.
The video below shows the bats being tracked on a map accelerated to 100x.
434 MHz Tracking Devices that Attach to Wild Bats
The Science article itself is mostly about the discoveries on bat behaviour that were made by the system. However the YouTube video embedded below explains a bit more about how the technical radio side works.
A Technical Overview of the ATLAS Wildlife Tracking System
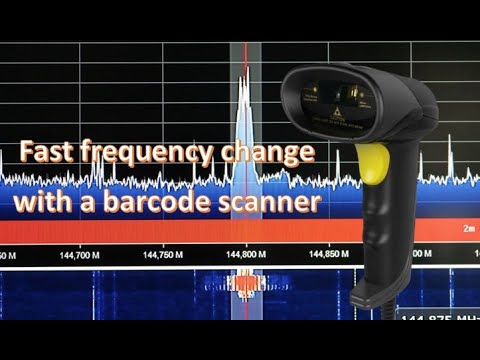
Thank you to Manuel Lausmann for submitting his YouTube video showing how he has set up a system that allows him to rapidly change frequencies in SDR# with a barcode scanner and some barcodes printed via an online generated. This might be an interesting way for non-technical users to easily change frequencies on demand, for example in a public demonstration of various radio channels.
We note that the video is narrated in German, but you can use the YouTube auto-translation feature to get English subtitles.
Schneller Frequenzwechsel mit einem Barcode Scanner
Thank you to Frugal Radio for submitting a YouTube video where he tests the YouLoop on an RTL-SDR Blog V3 running in direct sampling mode. The YouLoop is a passive HF loop antenna that requires a highly sensitive SDR like the Airspy HF+ Discovery to work at its full potential. However, in direct sampling mode the RTL-SDR Blog V3 does have enough sensitivity to work with the antenna to some extent thanks to the HF amplifier that is used on the direct sampling circuit. In the video Frugal Radio demonstrates the YouLoop receiving various HF signals.
Will an AirSpy YouLoop work with an RTL-SDR v3 on HF in direct sampling mode? It shouldn't...
We also note a second video by Bartłomiej Marcinkowski which shows an RTL-SDR Blog V3 in direct sampling mode running with a DIY YouLoop and MiniWhip. The MiniWhip does have increased signal strength, but the YouLoop is still usable and may be a better choice in the presence of interference. Later in the video he compares the RTL-SDR Blog V3 with MiniWhip against the Airspy HF+ Discovery with DIY YouLoop.
RTL-SDR v3 & YouLoop vs RTL-SDR v3 & MiniWhip vs AirSpy HF+ Discovery & YouLoop [80m,40m,20m]
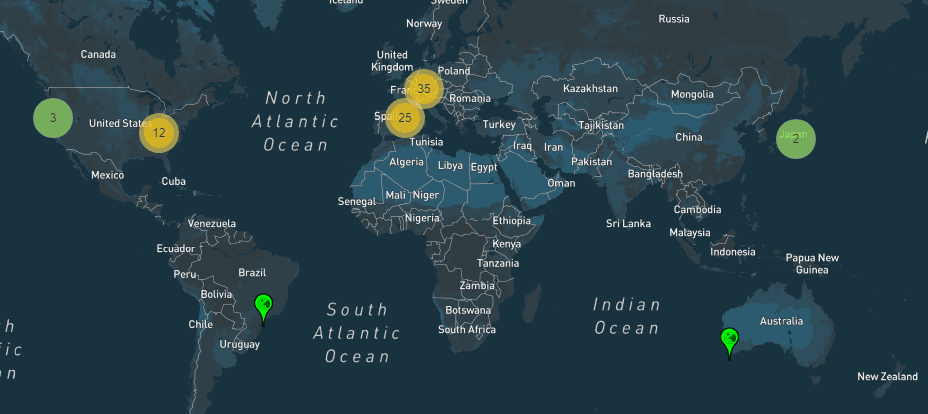
Back in late 2019 we posted about the Electrosense network which is an open source project aiming to deploy radio spectrum sensors worldwide. The idea is to help analyze and understand radio spectrum usage across the globe. Each sensor consists of an RTL-SDR, Raspberry Pi and an optional downconverter to receive the higher bands.
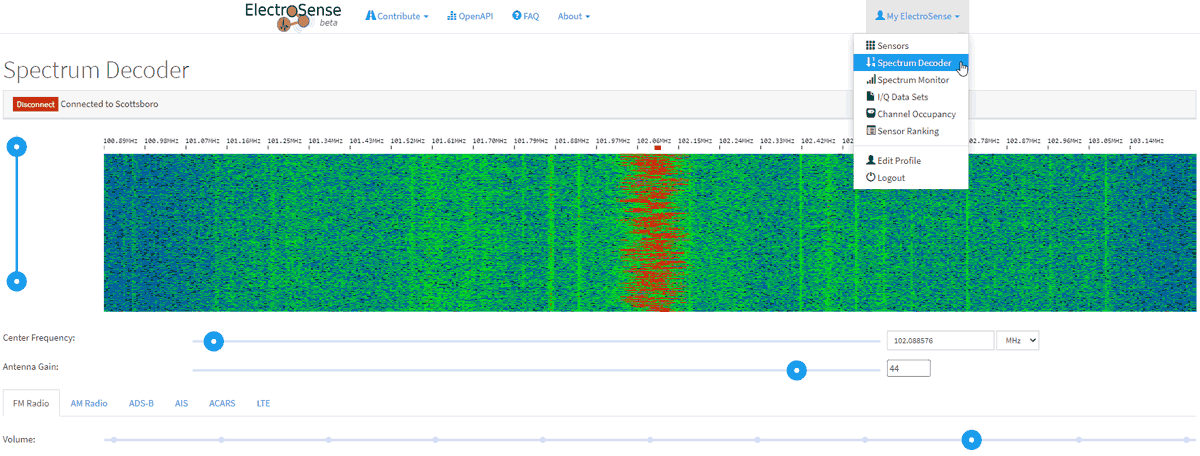
Recently Dr. Sofie Pollen wrote in and informed us that they have recently upgraded Electrosense and now users can use any sensor on the network to actually decode signals remotely over a web browser. The currently supported demodulators/decoders include FM/AM, ADS-B, AIS, LTE base station info and ACARS. This makes the Electrosense network kind of similar to the KiwiSDR or OpenWebRX SDR network where there are also various decoders built into the web software.
To test it out you need to create an Electrosense account at electrosense.org. Once logged in, go to "My Electrosense" on the top right, and choose "Spectrum Decoder". You can then choose from a number of Electrosense contributors stationed around the world. Once the waterfall is displayed you can click on signals to decode and listen to them, or change the decoder. Changing to ADS-B or AIS will bring up a map with decoded aircraft or boat positions. Changing to ACARS or LTE will show a text window with the decoded information.
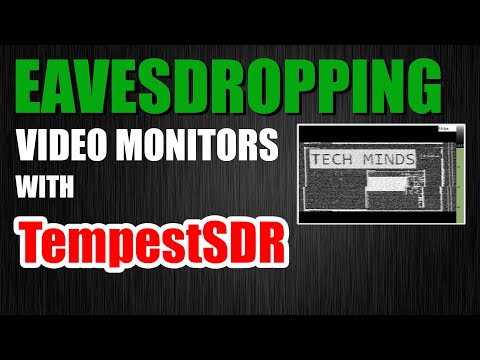
Over on his latest video Tech Minds' explores the use of TempestSDR to eavesdrop on video monitors with his Airspy Mini. TempestSDR is a program that we've posted about several times in the past. With an RTL-SDR or other compatible SDR like a HackRF it allows you to reconstruct an image from a computer monitor or TV just from the radio waves unintentionally emitted by the screen or cable. SDRs with larger bandwidths like the HackRF or Airspy are better at reconstructing the image as they can collect more information.
In his video Tech Minds shows how to download and setup one of the newer branches of TempestSDR which unlike older versions doesn't require much installation work. Using an Airspy Mini he shows that he is able to view what is on his screen via the emitted RF waves.
Eavesdropping Video Monitors With TempestSDR RTL-SDR
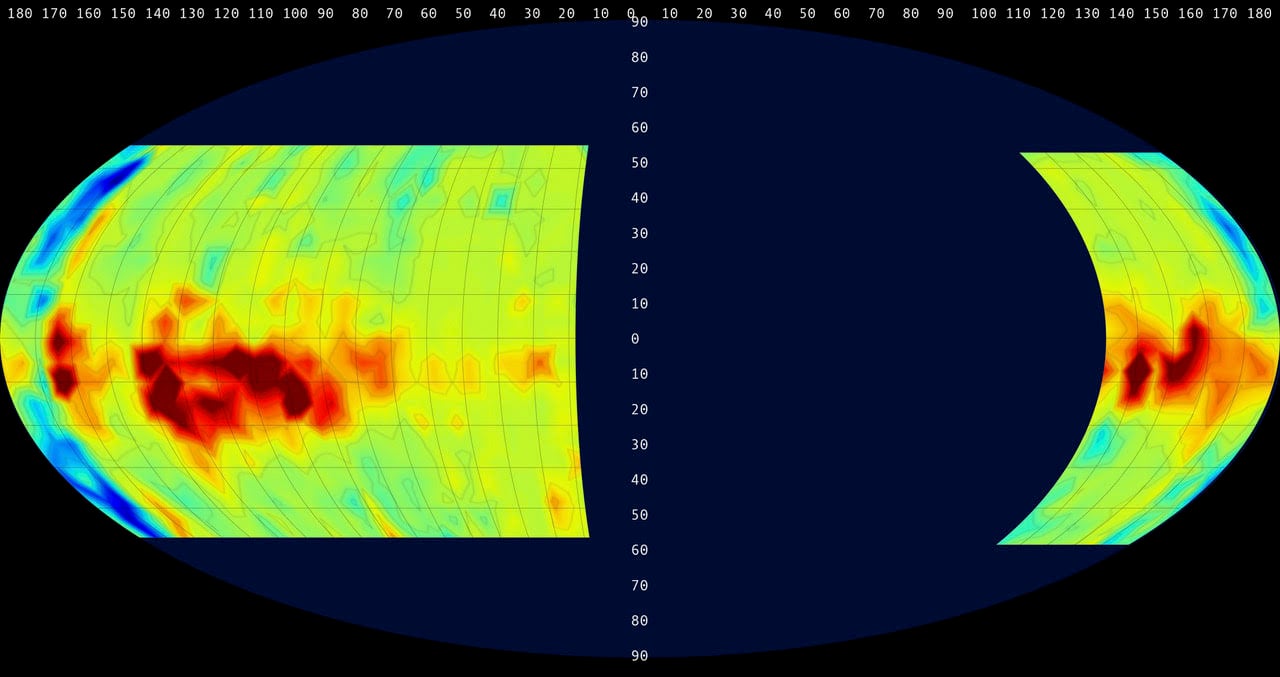
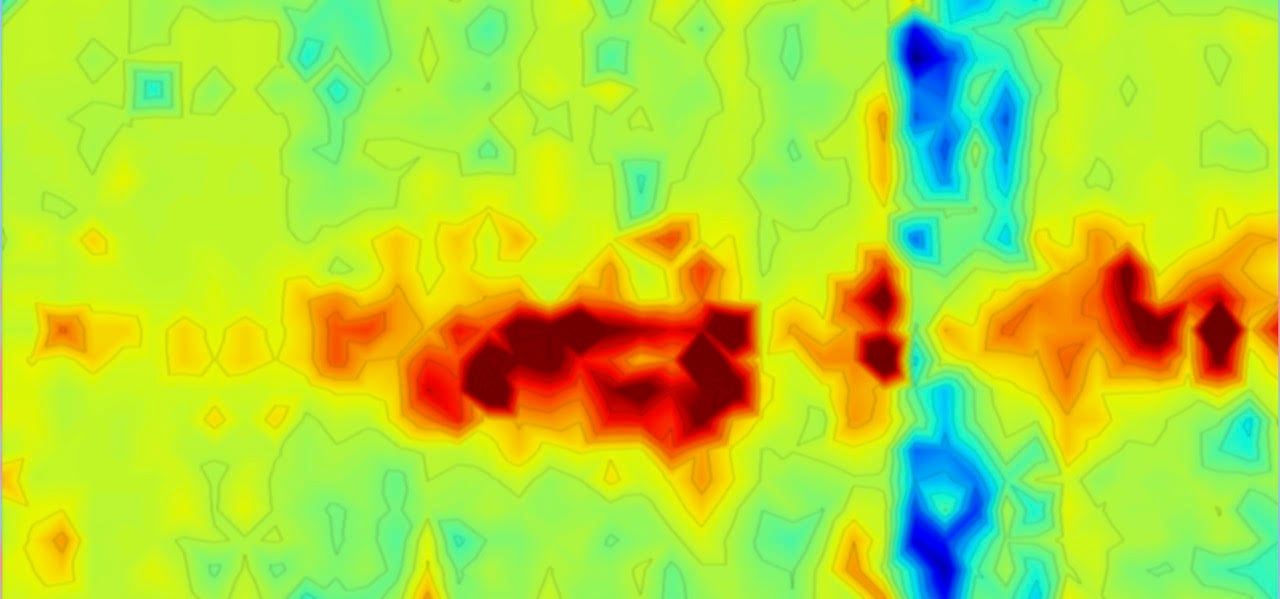
Last month we shared information about Job Geheniau's success with using an RTL-SDR dongle to image our galaxy in neutral Hydrogen. Our galaxy is full of neutral Hydrogen, and lots of neutral Hydrogen together results in a detectable radio peak at 1.42 GHz. This peak is called the Hydrogen line. By scanning the galaxy at the Hydrogen line frequency with a 1.5 meter dish on a motorized mount, an RTL-SDR, and a few filters and LNAs, Job is able to create a radio image of our galaxy.
In Job's previous attempt he created an image by pointing the dish antenna at 168 predefined grids calculated to cover the Milky Way, resulting in 168 points of exposure data. In his latest work Job has created an even higher resolution image by taking 903 points of exposure data. Each exposure took 150s and the total 903 exposures took 8 nights to record. Once all data was collected he uses the same process as before, which is to input all the Hydrogen line data into a standard 2D excel sheet, then use conditional formatting to create a heatmap which reveals the image. He then applies a blur and stretches the image into the Mollweide Cartographic which can represent the entire Universe in one image.
If you're interested in Hydrogen line radio astronomy we have a tutorial that will help you observe the Hydrogen line peak on a budget. The tutorial could be improved upon by motorizing the dish, allowing you to create images like the ones above. You might also be interested in a similar project by Marcus Leech who took 5 months of hydrogen line observations with an RTL-SDR in order to create an even higher resolution image.
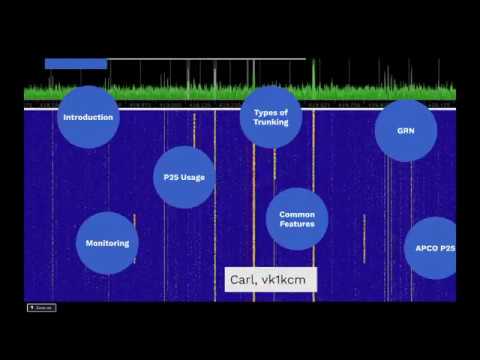
Thank you to Carl Makin (VK1KCM) for submitting a video that he produced for his local ham radio club in Australia. In the video Carl first gives an overview on radio trunking systems and explains why they are used to improve spectrum efficiency.
He goes on to focus solely on P25 digital voice trunking networks. Carl is based in NSW, Australia so he talks a bit about what P25 services are available in his area and which ones are unencrypted. Finally he demonstrates the SDR Trunk software decoding one of his local P25 networks with two RTL-SDR dongles, and explains what information we can see in the software.

![RTL-SDR v3 & YouLoop vs RTL-SDR v3 & MiniWhip vs AirSpy HF+ Discovery & YouLoop [80m,40m,20m]](https://www.rtl-sdr.com/wp-content/plugins/wp-youtube-lyte/lyteCache.php?origThumbUrl=https%3A%2F%2Fi.ytimg.com%2Fvi%2FiIklM9F52lQ%2F0.jpg)